A Practical Guide to Convert an Image Sequence to Video
Learn how to convert an image sequence to video with this complete guide. We cover workflows in Premiere Pro, FFmpeg, and instant AI tools for any project.
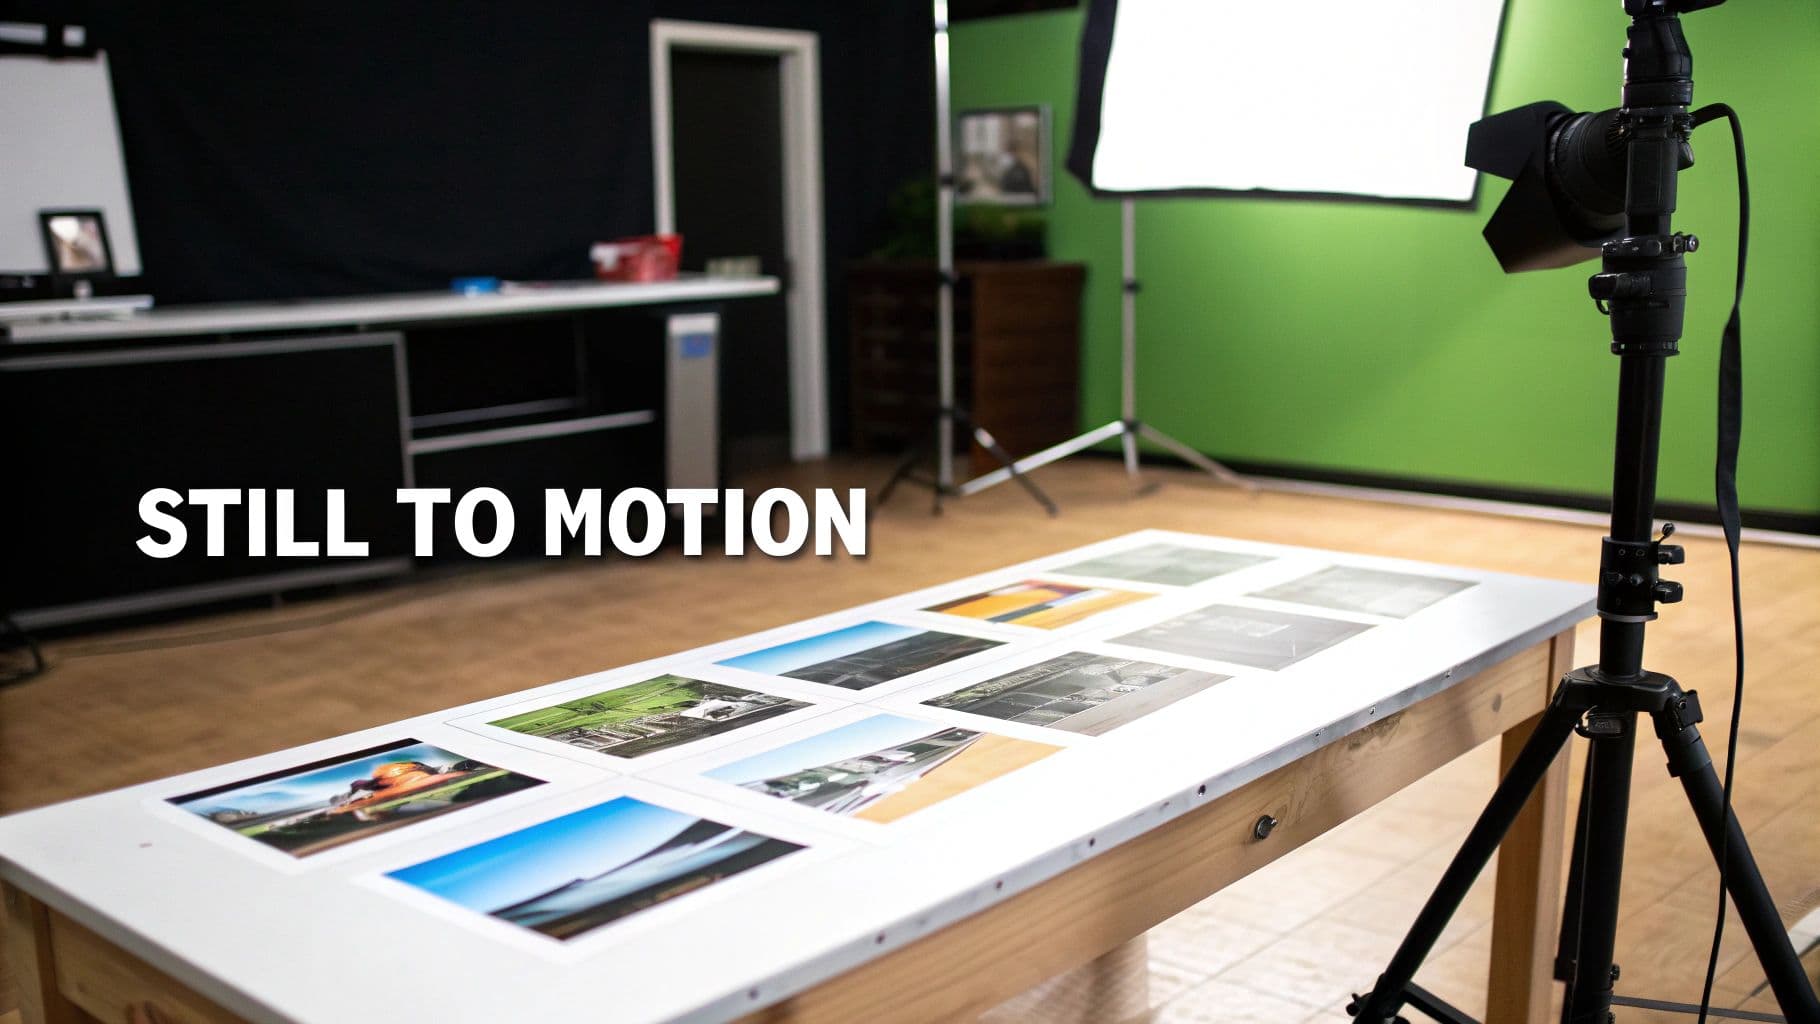
So, you have a folder full of images and need to turn them into a video. What you're looking at is called an image sequence, and it’s the secret behind a ton of professional animation, time-lapse photography, and VFX work.
This is the process of taking a series of sequentially named still images (like frame_001.png, frame_002.png, etc.) and stitching them together into one fluid video file. It's a technique that offers way more control and quality than just hitting "export to MP4" from your rendering software.
From Still Frames to Fluid Motion
Before we jump into the software, let’s get clear on why this is the go-to method for pros. Think about any video you’ve ever seen—at its core, it's just a flipbook of still images, or frames, shown fast enough to trick your brain into seeing movement. An image sequence is just that flipbook, laid out as a folder of individual pictures, where each file is a single frame of your final video.
This approach isn't just an alternative; in many professional pipelines, it's the only way to work.
Why Professionals Swear By Image Sequences
Imagine you're in the middle of a ten-hour 3D animation render. If you're rendering directly to a single MP4 file and the power cuts out or your software crashes at hour nine, that entire file is likely corrupt. All that time is gone. You have to start over from the very beginning.
Now, imagine you're rendering an image sequence instead. If the process gets interrupted, who cares? You just pick up right where you left off, starting the render from the last successfully saved frame. That one benefit alone is a project-saver.
But it gets even better. This method gives you incredible flexibility in post-production.
- Flawless Quality: When you export to formats like PNG or TIFF, you're keeping all the rich image data. This gives you way more room to play with color correction and grading later on, all without ugly compression artifacts.
- Surgical Fixes: Notice a glitch on a single frame? No problem. You can literally open that one image in Photoshop, fix it, and save it. No need to re-render the entire ten-hour animation for a tiny mistake.
- Better Teamwork: It makes collaboration so much easier. Different artists or even different teams can work on separate shots or batches of frames at the same time, making the whole production pipeline move faster.
The Single Most Important Rule: Sequential Naming
This whole process lives or dies by one simple but absolutely critical rule: your files must be named sequentially. Your software needs to know the correct order to assemble the frames, and a logical, consistent naming pattern is the only way it can figure that out.
A proper naming scheme is non-negotiable. Without it, your software will either fail to import the files or assemble them in a jumbled, useless order. This is the most common point of failure for beginners.
For example, your files need to look something like this: render_0001.png, render_0002.png, render_0003.png, and so on.
That "padding" with leading zeros (0001 instead of 1) is a must. It’s what ensures that your computer sorts frame_10.png after frame_9.png, not after frame_1.png (which is what it would do alphabetically). Getting this simple habit down is the first real step to avoiding a world of frustration.
The Professional Workflow Using Desktop Video Editors
When your project demands absolute creative authority, and you need to get your hands dirty, nothing beats the power of a professional Non-Linear Editor (NLE). Tools like Adobe Premiere Pro or Final Cut Pro are the industry workhorses for a reason. They give you the granular control needed for high-stakes projects, from cinematic VFX to detailed architectural visualizations.
This workflow is all about precision, and it starts the moment you bring your files in.
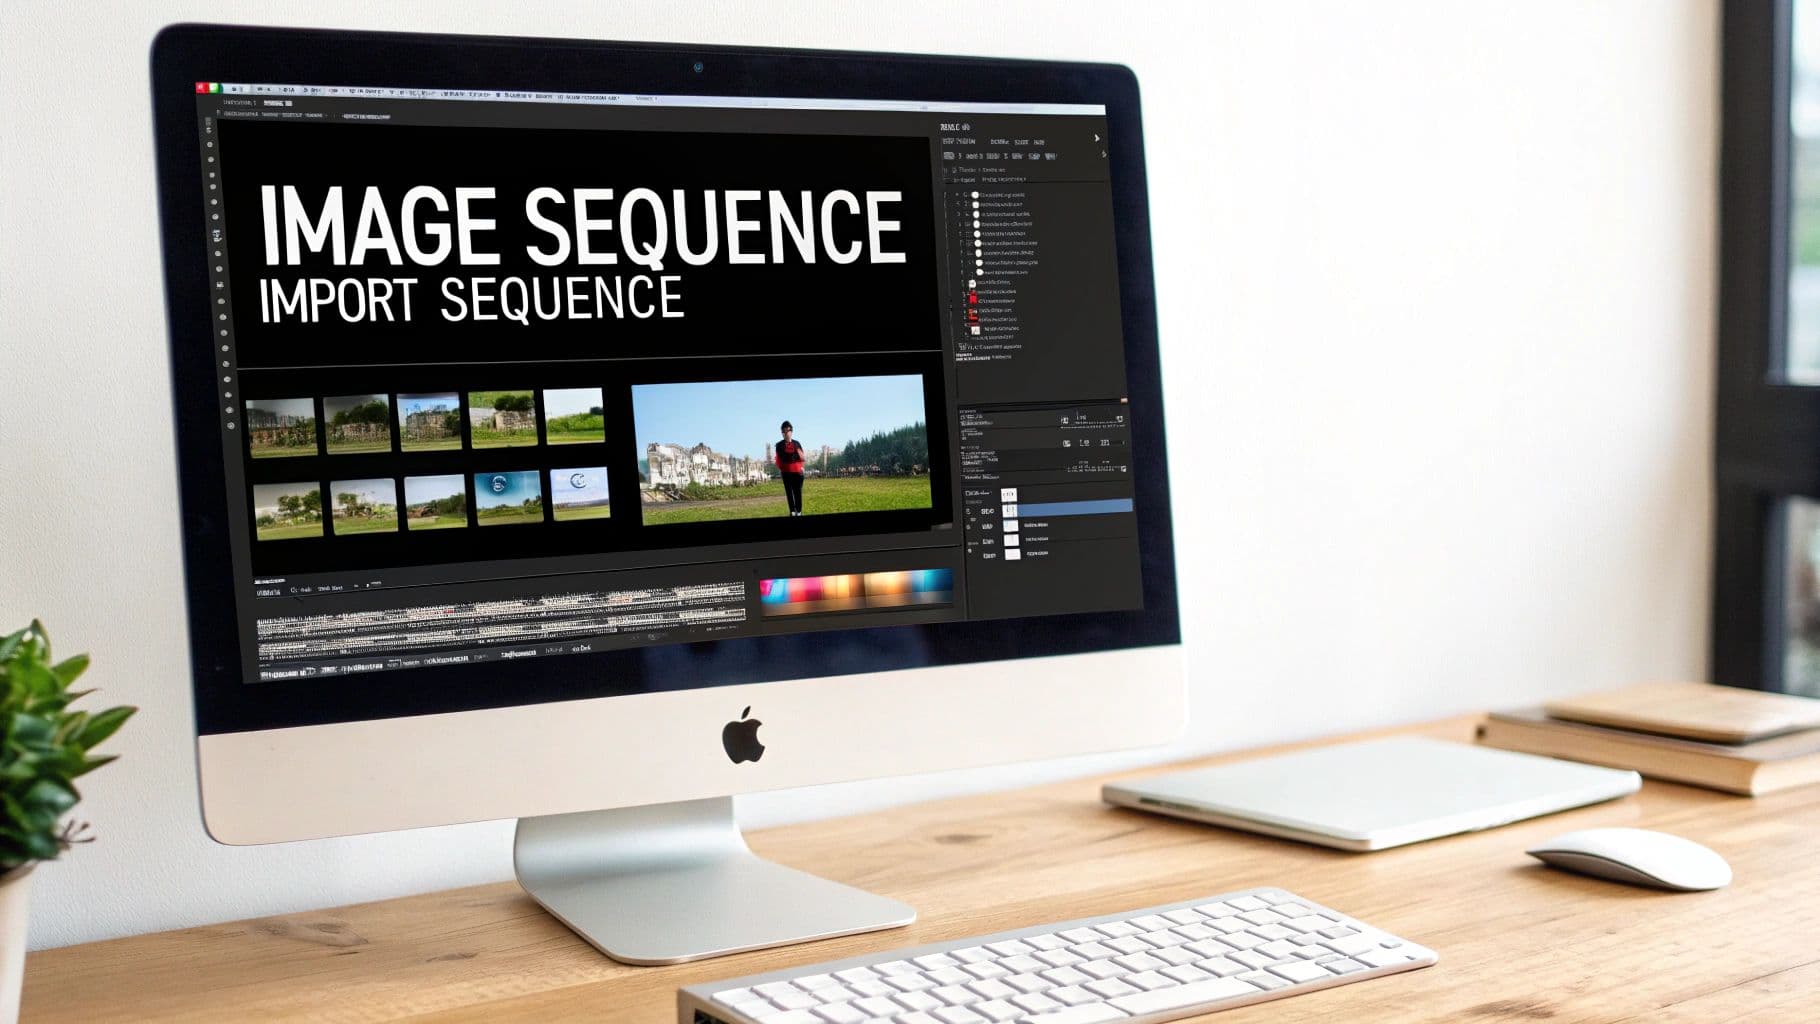
Importing Your Image Sequence Correctly
The most critical step happens right at the beginning. In most professional editing software, you can’t just drag and drop the entire folder of images onto your timeline. You have to be more deliberate.
Instead, you’ll use the import dialog and select only the very first image in your sequence—something like render_0001.png.
Somewhere in that import window, you'll find a small but essential checkbox labeled Image Sequence. Ticking this box tells the software to look for the subsequent numbered files and treat them all as a single, cohesive video clip. This is the magic button that turns a thousand still frames into fluid motion.
Forgetting to check the 'Image Sequence' box is a classic rookie mistake. If you skip it, you'll just import a single static image, not a video clip, leaving you wondering why your animation isn't animating.
This feature didn't just appear overnight; it’s built on decades of digital imaging research. Back in the 1990s, the hardware for processing frames became standard in computers, but the data demands were immense—a single second of uncompressed video could require up to 25 megabytes of storage. This challenge pushed the development of the powerful algorithms that now make handling an image sequence to video conversion feel so effortless.
Setting Frame Rates and Integrating Clips
Once imported, the software will probably ask you to interpret the footage. This is where you set the frame rate, and your choice here fundamentally defines the feel of the motion:
- 24fps: The undisputed standard for that classic, cinematic look.
- 30fps: Common for broadcast television and most online video content.
- 60fps: Perfect for creating ultra-smooth motion or for slowing down footage later for dramatic slow-motion effects.
With your image sequence now behaving like any other video clip in your project bin, you can drag it right onto your timeline. From here, the full creative suite is at your disposal. You can layer in audio tracks, apply sophisticated color grades with tools like Lumetri Color, and seamlessly edit it alongside other live-action footage.
Choosing the right editor for your needs is a key decision. A comprehensive video production software comparison can offer valuable insights into different features and workflows. And if you're still weighing your options, our own guide to https://proom.ai/blog/video-production-software-comparison also provides a detailed breakdown of the top contenders. While this desktop workflow is more involved, it offers the highest possible ceiling for quality and creative expression.
The Power User Method with FFmpeg Commands
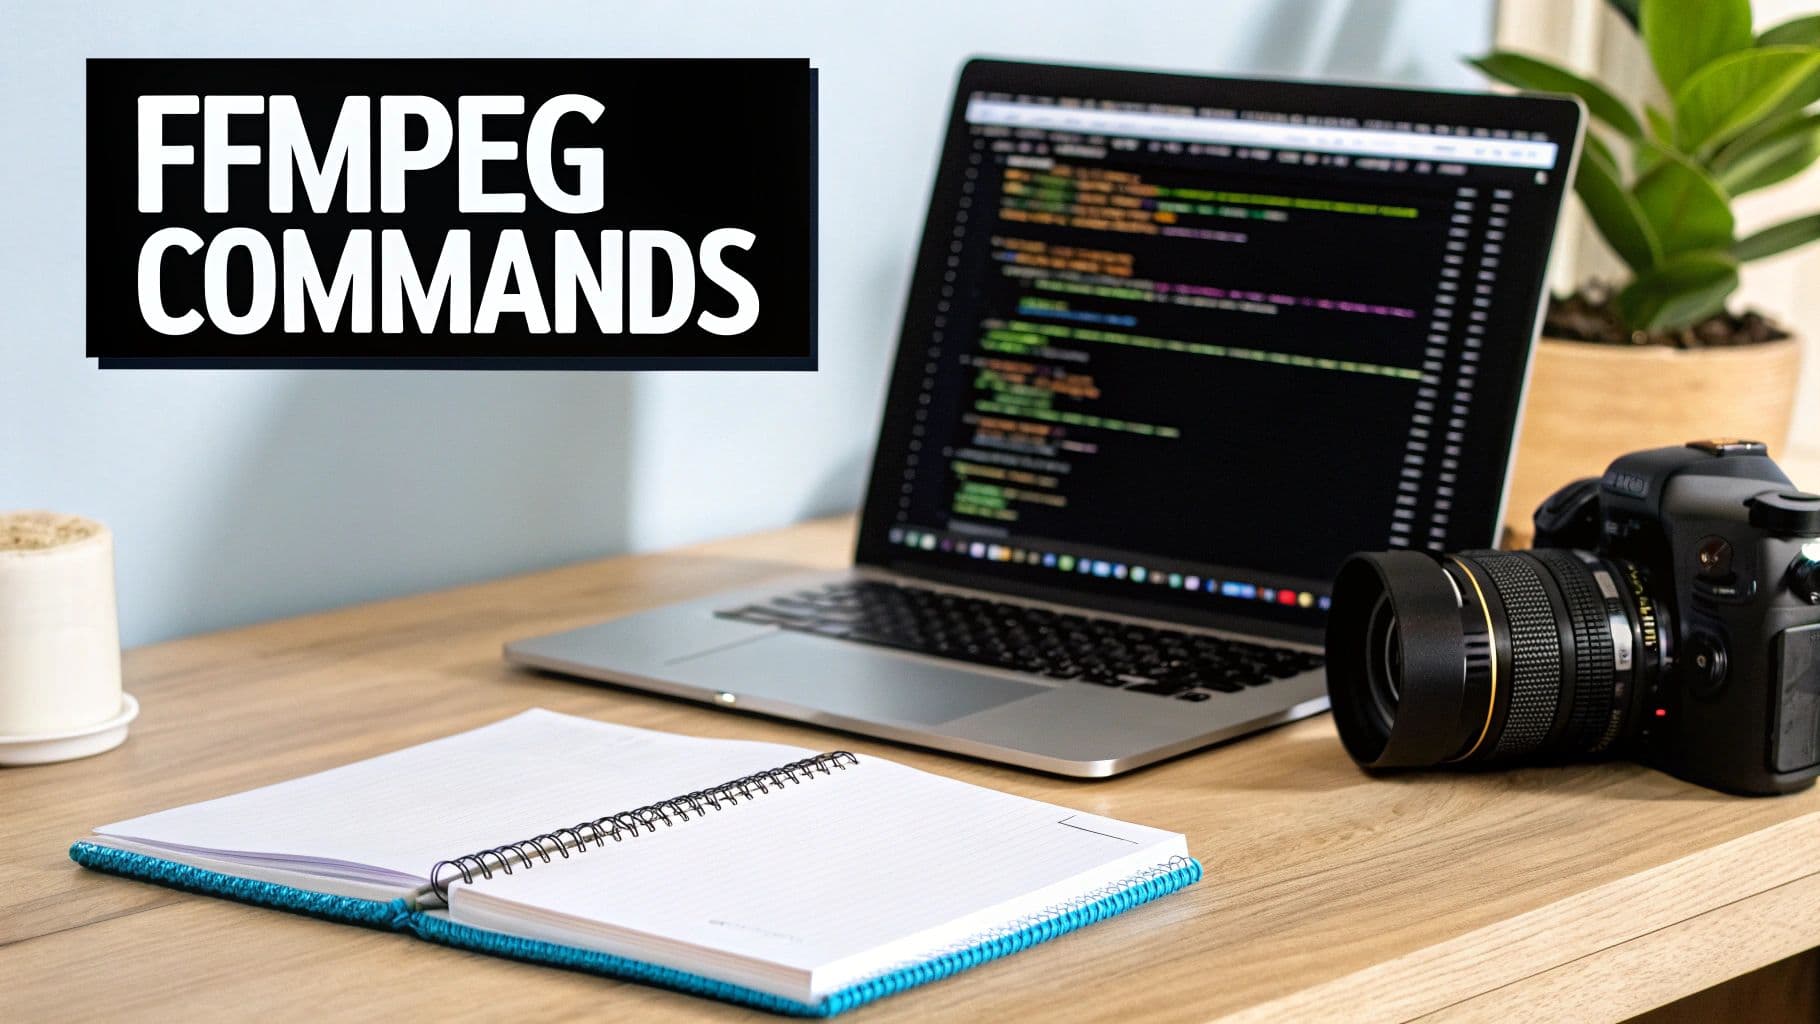
For anyone who values speed, automation, and granular control, the command line is where the real work gets done. Meet FFmpeg, the free, open-source engine that powers a massive chunk of the world's video software. It’s the go-to for developers, technical artists, and anyone needing to batch-process renders or build video creation into an automated pipeline.
This method completely skips the graphical interface, letting you convert an image sequence to video directly.
It might look a little intimidating at first, but the core idea is incredibly simple. You’re just telling FFmpeg a few key things: what the frame rate is, where to find your images, and what kind of video file to spit out. Everything else is just fine-tuning.
The real magic is in its efficiency. Imagine you’ve just finished a 3D animation and have 50 different folders of image sequences. Instead of clicking through a video editor 50 times, you could write a single script to process all of them while you sleep. That’s the power of the command line.
Building Your First FFmpeg Command
The foundation of any FFmpeg image sequence command is built around a few "flags" that pass instructions to the program. Let's start with a practical example and then I’ll break down what each piece does.
Let’s say you have a folder full of PNG files from a render, named sequentially like render_0001.png, render_0002.png, and so on. A solid, reliable command to start with would be:
ffmpeg -framerate 24 -i render_%04d.png -c:v libx264 -pix_fmt yuv420p output.mp4
Here's the play-by-play on what that command is doing:
- -framerate 24: This flag sets the input frame rate. We’re telling FFmpeg to treat our image sequence as a 24fps video, which is the standard for a cinematic look.
- -i render_%04d.png: This is the input flag. The
%04dpart is a pattern matcher that tells FFmpeg to look for file names with four-digit padding (like 0001, 0002, etc.). This is critical for making sure it grabs every frame in the right order. - -c:v libx264: This specifies the video codec.
libx264is the most common H.264 video encoder on the planet, giving you a great mix of quality and compatibility. - -pix_fmt yuv420p: This sets the pixel format. Honestly, this is a crucial little flag. It ensures your final video will play nice on just about any device, from a new iPhone to an old media player, without weird color issues.
Run that one line in your terminal, and FFmpeg will immediately stitch your images together into a high-quality
output.mp4file right in the same folder. The speed and directness are what make it an essential tool in any technical workflow.
Ready to create video ads?
Turn your photos into scroll-stopping ads in minutes. No video editing skills required.
Try For FreeGaining More Control Over Quality
That basic command is great for general use, but what if you need a pristine, high-quality version for an archive? Or maybe just a quick, low-res preview? This is where you can add a few more flags to dial in the result.
The Constant Rate Factor (or -crf) is your best friend here. It’s the most important quality setting for the libx264 codec, telling the encoder what quality level to aim for. The important thing to remember is that lower numbers mean higher quality.
- -crf 18: This is often considered "visually lossless." The file will be large, but the quality will be extremely high. Perfect for master files.
- -crf 23: This is the default value and usually offers the best balance between visual quality and file size.
- -crf 28: This will give you a much smaller file with more noticeable compression. It’s ideal for quick drafts or web previews where file size is the main concern.
For developers looking to bake this kind of logic into a bigger application, Proom AI's programmatic video generation API offers a more structured way to get similar results without having to manage FFmpeg dependencies on a server. While FFmpeg gives you total control on your local machine, an API is often a more scalable solution for cloud-based apps.
The "Just Get It Done" Method: AI-Powered Video Creation
So, what happens when you need a professional-looking video right now? The command line and desktop editors are powerful, no doubt. But they demand a certain level of technical skill and, more importantly, time. This is where modern AI platforms completely change the game for anyone who needs to create a video from an image sequence without all the hassle.
This approach is all about speed and simplicity. Forget wrestling with codecs and keyframes. You just upload your images into a slick, pre-designed template and let the AI handle the rest. It's a lifesaver for marketers, e-commerce brands, and small businesses needing high-quality social ads or portfolio videos in minutes, not hours.
From Technical Operator to Creative Storyteller
The whole idea here is a shift in your role. You stop being a technical operator fiddling with settings and become a creative storyteller focused on your message. The platform takes care of the complicated bits, freeing you up to concentrate on what actually matters: the story you're trying to tell.
For an instant, no-fuss way to turn your images into video, specialized tools like Postsyncer's AI Video Generator are built to convert stills into dynamic content almost instantly. They're designed for rapid production cycles where speed is everything.
The template-based workflow in Proom AI, for example, is engineered for this exact kind of efficiency and impact, automating the whole process from start to finish.
This interface shows just how simple it can be. You're just picking a style and uploading your creative assets, not getting lost in a sea of confusing software settings.
The Magic of Automated Enhancements
The real power of this method comes from all the automated bells and whistles that add a layer of professional polish—the kind of stuff that would otherwise take ages to do manually.
- Automated Cinematic Effects: The AI is smart enough to apply effects like the classic Ken Burns pan-and-scan, subtle zooms, and smooth transitions that bring your static images to life.
- Pre-Licensed Music: You get instant access to a library of royalty-free music that's already timed to the video's pacing. No more worrying about copyright strikes.
- AI-Generated Captions: The platform can add slick text overlays and captions. This is a huge deal for social media, where a massive number of people watch videos with the sound off.
The technology behind this has exploded in just the last few years. Between 2022 and 2023, AI models got dramatically better at understanding physics-based motion and creating buttery-smooth transitions, paving the way for these incredibly powerful tools.
This "instant" method is the perfect solution for anyone who needs to churn out a lot of engaging video content but doesn't have a dedicated production team. To see how this tech can work for you, check out our guide on how to convert photos into compelling videos using AI.
Choosing The Right Method For Your Project
So, you have a sequence of images and you need to turn it into a video. Which way should you go? The honest answer is: it depends entirely on what you’re making.
There's no single "best" tool, only the right tool for the job. The path you choose is a constant trade-off between creative control, speed, technical complexity, and your budget.
A VFX artist working on a feature film needs pixel-perfect control, so they'll live inside a desktop editor like Premiere Pro. A developer building an automated render pipeline needs scriptable power, making FFmpeg the obvious choice. But a marketer who needs a compelling social ad by the end of the day will get the most value from a specialized AI platform built for speed.
Matching Your Goal To The Workflow
Turning still frames into moving pictures is nothing new. This whole process has its roots in early computer animation, a field pioneered in films like 1973’s Westworld. By the time Star Wars: Episode I hit theaters in 1999, audiences were completely sold on digitally generated worlds built frame by frame. You can dive deeper into the history of AI in film to see how those early experiments paved the way for the tools we have today.
This chart breaks down the decision-making process, helping you see whether your project calls for maximum technical control or just pure, unadulterated speed.
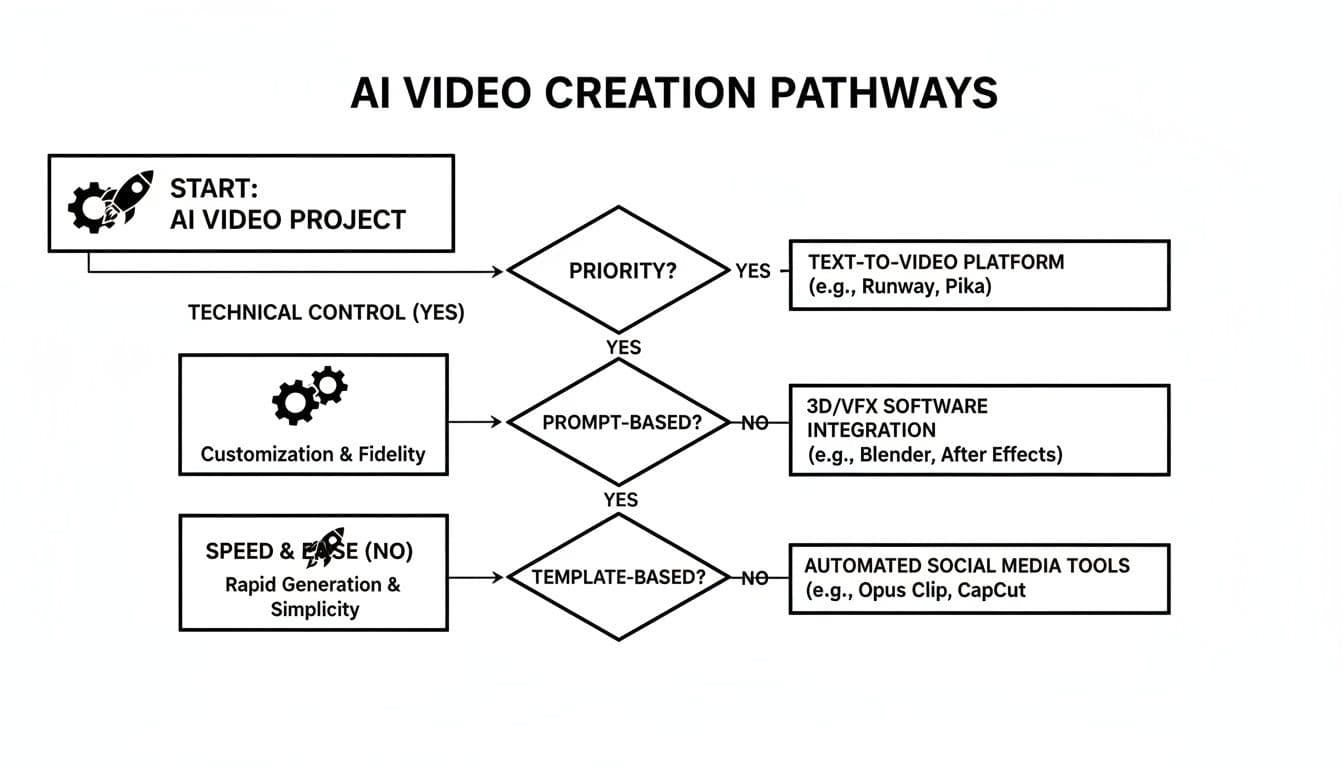
As you can see, the path you take is a direct reflection of your project's constraints and your own comfort level with the tech.
The most effective method is the one that removes the most friction between your idea and the final result. Don't choose a complex tool if a simple one will get the job done faster and just as well.
Which Image-to-Video Method Is Right for You?
To make it even clearer, let's break down the core strengths and ideal user for each approach. This quick comparison will help you pinpoint the right workflow before you even start, saving you a ton of time and frustration down the road.
| Method | Best For | Key Advantage | Skill Level |
|---|---|---|---|
| Desktop Editor | Filmmakers, VFX Artists, Animators | Absolute creative control, color grading, audio mixing | Intermediate |
| FFmpeg | Developers, Technical Directors | Automation, batch processing, efficiency at scale | Advanced |
| AI Platform | Marketers, Small Businesses, Designers | Speed, ease of use, professional templates | Beginner |
Ultimately, choosing the right tool from the get-go is the most important step you'll take. If your goal is to create a high-impact social media ad in minutes, a platform like Proom AI is purpose-built for that exact task, letting you skip the technical headaches of the other methods entirely.
Got Questions? Let’s Talk Troubleshooting
Even with the best tools, you’re bound to hit a few snags when turning an image sequence into a video. It’s a pretty straightforward process on paper, but tiny details can have a surprisingly big impact on your final render.
Think of this as your field guide to solving the most common issues. We'll cover everything from picking the right file type to figuring out why your colors look a bit… off.
What’s the Best Image Format to Use?
This is a classic question, and the answer really comes down to balancing quality with file size.
- PNG (Portable Network Graphics) is my go-to for most projects. It uses lossless compression, so you don't lose any quality, and it supports transparency (alpha channels). That’s non-negotiable if you’re doing any kind of VFX or animation compositing.
- TIFF (Tagged Image File Format) is another lossless format, and it's the heavyweight champion. You’ll see it a lot in professional photography and print. It can handle higher bit depths, which gives you more wiggle room for heavy color grading, but be prepared for massive file sizes.
- JPEG (Joint Photographic Experts Group) is what's known as a "lossy" format. To keep file sizes small, it throws away a little bit of image data. It’s not the choice for a final, high-end production, but it's totally fine for quick previews or a time-lapse where storage space is your main concern.
For just about any digital video work, PNG hits the sweet spot. You get fantastic quality and features without your hard drive begging for mercy.
Why Do My Video’s Colors Look Washed Out?
Ah, the dreaded color shift. This almost always comes down to a mismatch in color space or pixel format. Your source images might be in a common profile like sRGB, but your video encoder could be defaulting to something else entirely, leading to that faded, washed-out look.
Luckily, the fix is usually simple: you just have to tell the encoder what to do. If you're using a command-line tool like FFmpeg, adding the flag -pix_fmt yuv420p is your secret weapon. This little command forces the output into a pixel format that plays nicely with virtually every web browser and media player out there, keeping your colors consistent and vibrant.
Never assume the default export settings will get your colors right. Specifying a web-safe pixel format like
yuv420pis the single best thing you can do to avoid unexpected color shifts in your final video.
How Do I Handle Dropped or Missing Frames?
It’s a gut-wrenching moment: you set up a long render, and when you check the sequence, you find a gap. Your software sees the numbering jump from frame_0150.png to frame_0152.png and just stops, leaving you with an incomplete video.
The best thing to do is fill that gap. You’ve got a couple of options:
- Re-render the missing frame if you can. This is the ideal fix, as it keeps the motion perfectly smooth.
- Duplicate the previous frame. Just copy
frame_0150.pngand rename it toframe_0151.png. Honestly, for a single missing frame in a fast-moving scene, nobody will ever notice. - Use your editor's features. If you’re already in an NLE like Premiere Pro, you can often just stretch the previous clip to cover the gap. It’s a quick-and-dirty fix that works in a pinch.
A little pro-tip: always do a quick scan of your image sequence for gaps before you import. It'll save you a world of frustration down the line.
Ready to skip the technical headaches and create stunning videos from your images instantly? Proom AI offers a template-driven workflow that handles all the complex settings for you. Turn your photos into professional, engaging video ads in just a few clicks. Start creating today at https://proom.ai.
Ready to create video ads?
Turn your photos into scroll-stopping ads in minutes. No video editing skills required.
Try For FreeStay ahead in video marketing
Join thousands of marketers getting actionable insights delivered to their inbox.
Join 5,000+ marketers. No spam, unsubscribe anytime.